| “ | The Deeptora Honeycomb is proof that not all of Hoxxes' arthropods grow to tremendous size. The Honeycomb is an easily recognizable organic structure, and houses upwards of 10 million flesh-eating Deeptora drones. While not particularly harmful towards Dwarves, it is nonetheless recommended to stay at range or take the hive out with sustained fire. Deadly or not, being bitten and stung by 100.000 creatures at the same time is never fun. |
| — Miner's Manual Description |
The Deeptora Honeycomb is an organic structure that houses bee swarms. When approached, bees will swarm out of the Honeycomb to attack the player. It is found exclusively on Sandblasted Corridors.
If the Deeptora Honeycomb is detached from terrain it will get instantly destroyed.
As stationary targets, the nest won't move and can be identified by its dim, white glow. The nest is incredibly vulnerable to incendiary weapons and perks, requiring very little effort to destroy it. Caution still must be taken as there is always more than one Honeycomb clustered in a map.
Combat[]
Health and Armor[]
| Effective
Health Scaling |
Hazard Level | ||||||||||||
|---|---|---|---|---|---|---|---|---|---|---|---|---|---|
| Normal Mission | DD | EDD | |||||||||||
| 1 | 2 | 3 | 4 | 5 | 3 | 3.5 | 4.5 | 5 | 5.5 | ||||
| Player Count | 280 | 400 | 440 | 480 | 480 | 440 | 440 | 480 | 480 | 480 | |||
Deeptora Swarm[]
Once the Deeptora Honeycomb has been disturbed, it will, as aforementioned, release a swarm of Deeptora insects towards the nearest player. Each Honeycomb could only release one swarm each. It will re-release another swarm if the original had either returned to its nest or were eradicated by the player.
The swarm is incredibly fast and agile, which makes it difficult to counter them. Moreover, they are typically small and hard to see, so lighting is of utmost importance. The swarm deals low damage, which by itself, is manageable, it starts to become a problem when there are multiple of them as they do damage-over-time.
Using a weapon that lights enemies on fire - such as the CRSPR Flamethrower, will kill the bee swarms in a quick and easy manner. Any other area-of-effect weapons are also effective against the swarm. Ballistic weapons are nearly useless as there is a high chance to miss given how difficult it is to spot them.
Combat[]
Health and Armor[]
| Effective
Health Scaling |
Hazard Level | ||||||||||||
|---|---|---|---|---|---|---|---|---|---|---|---|---|---|
| Normal Mission | DD | EDD | |||||||||||
| 1 | 2 | 3 | 4 | 5 | 3 | 3.5 | 4.5 | 5 | 5.5 | ||||
| Player Count | 7 | 10 | 11 | 12 | 12 | 11 | 11 | 12 | 12 | 12 | |||
Attacks[]
| DoT | |||||||||||||
|---|---|---|---|---|---|---|---|---|---|---|---|---|---|
| Damage per Tick | Hazard Level | ||||||||||||
| Normal Mission | DD | EDD | |||||||||||
| 1 | 2 | 3 | 4 | 5 | 3 | 3.5 | 4.5 | 5 | 5.5 | ||||
| Player Count | 2 | 2.8 | 4.8 | 8 | 11.2 | 4.8 | 6 | 9.2 | 11.2 | 12 | |||
| 2 | 3.2 | 5.2 | 8.6 | 12 | 5.2 | 6.4 | 9.8 | 12 | 12.8 | ||||
| 2 | 3.6 | 5.6 | 9.2 | 12.8 | 5.6 | 6.8 | 10.4 | 12.8 | 13.6 | ||||
| 2 | 4 | 6 | 10 | 13.6 | 6 | 7.2 | 11.2 | 13.6 | 14.4 | ||||
| Details | |||||||||||||
| Damage Type | Melee | ||||||||||||
| Interval | 1-2 s | ||||||||||||
Gallery[]

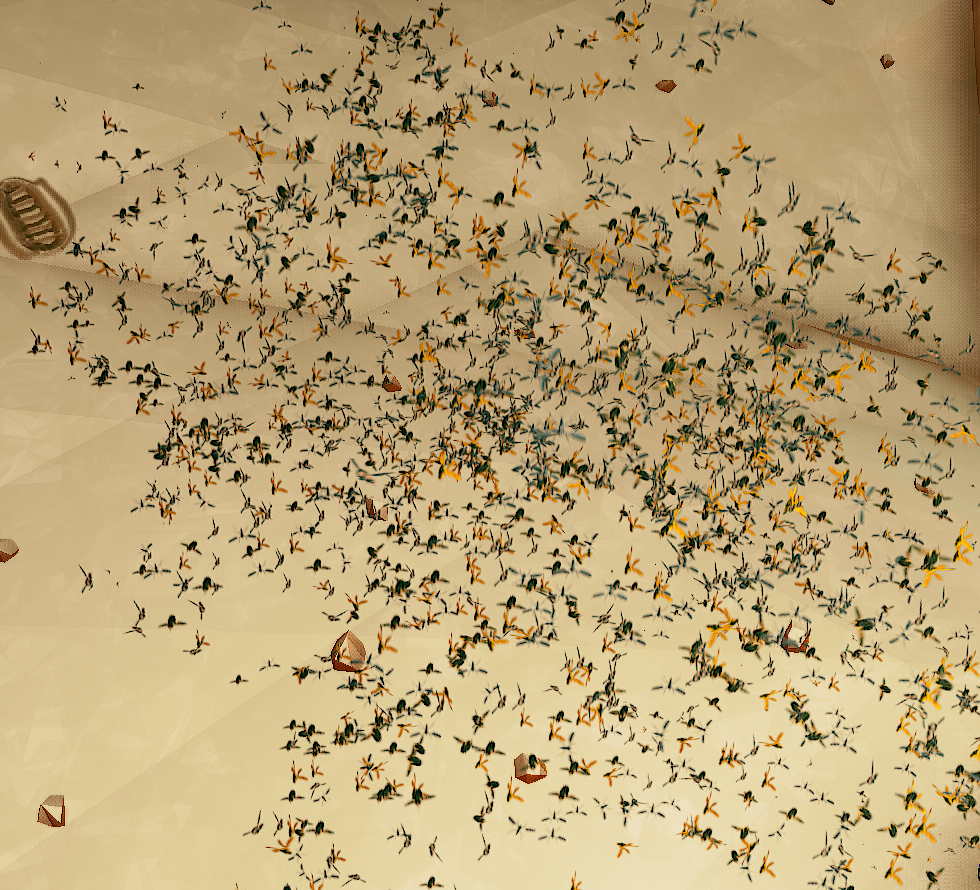
Insect Swarm
| |||||||||||||||||||||||||||||||||||||