PunchyTurtle (talk | contribs) |
PunchyTurtle (talk | contribs) |
||
| Line 103: | Line 103: | ||
== Perk anchor testing == |
== Perk anchor testing == |
||
| + | __TOC__ |
||
| − | _TOC_ |
||
=== Perk Tiers === |
=== Perk Tiers === |
||
Revision as of 20:38, 21 October 2020
Useful links
To Do
- Make Damage Types page. Reference this
tyiosadnf
| Item | Description | Statistics |
|---|---|---|
| Functional | ||
 Blue Crystals |
Blue crystals emitting bright light which greatly helps with navigation. | Hardness: 2 |
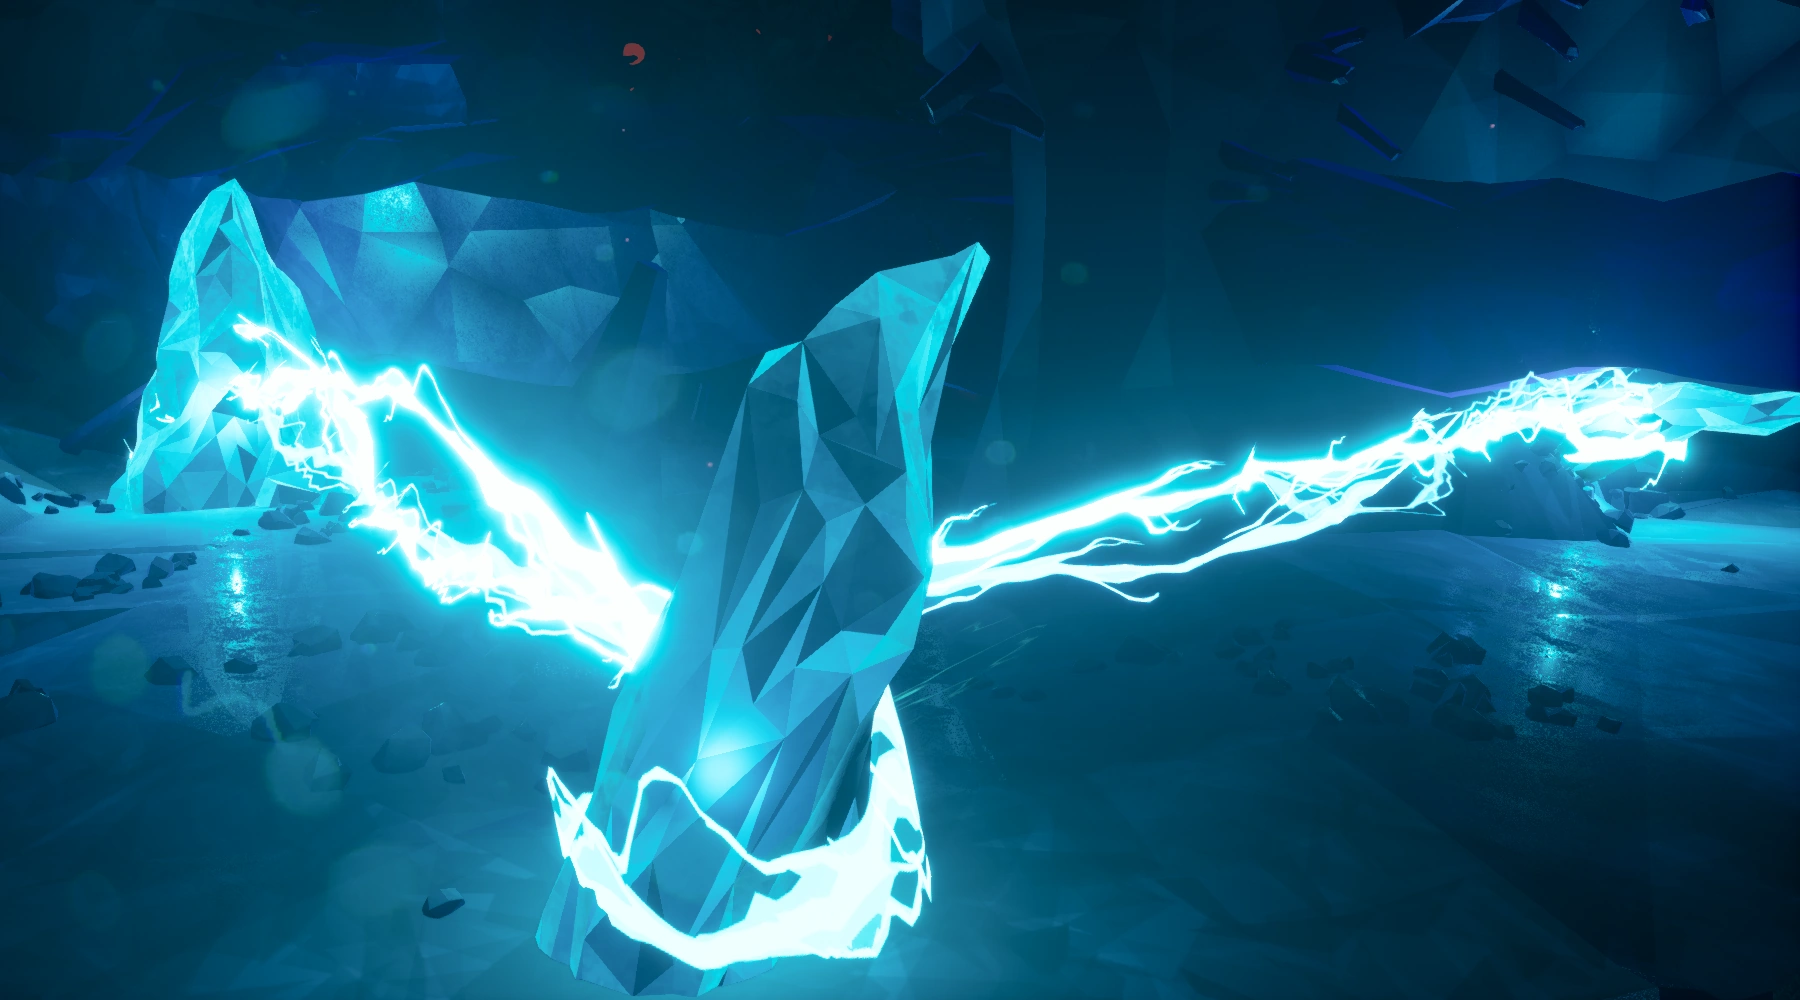 Electrocrystals |
Blue crystals that shock and slow anything that comes in contact. Electricity arcs off and on between nearby electrocrystals. | Health: 350
Damage: 4
|
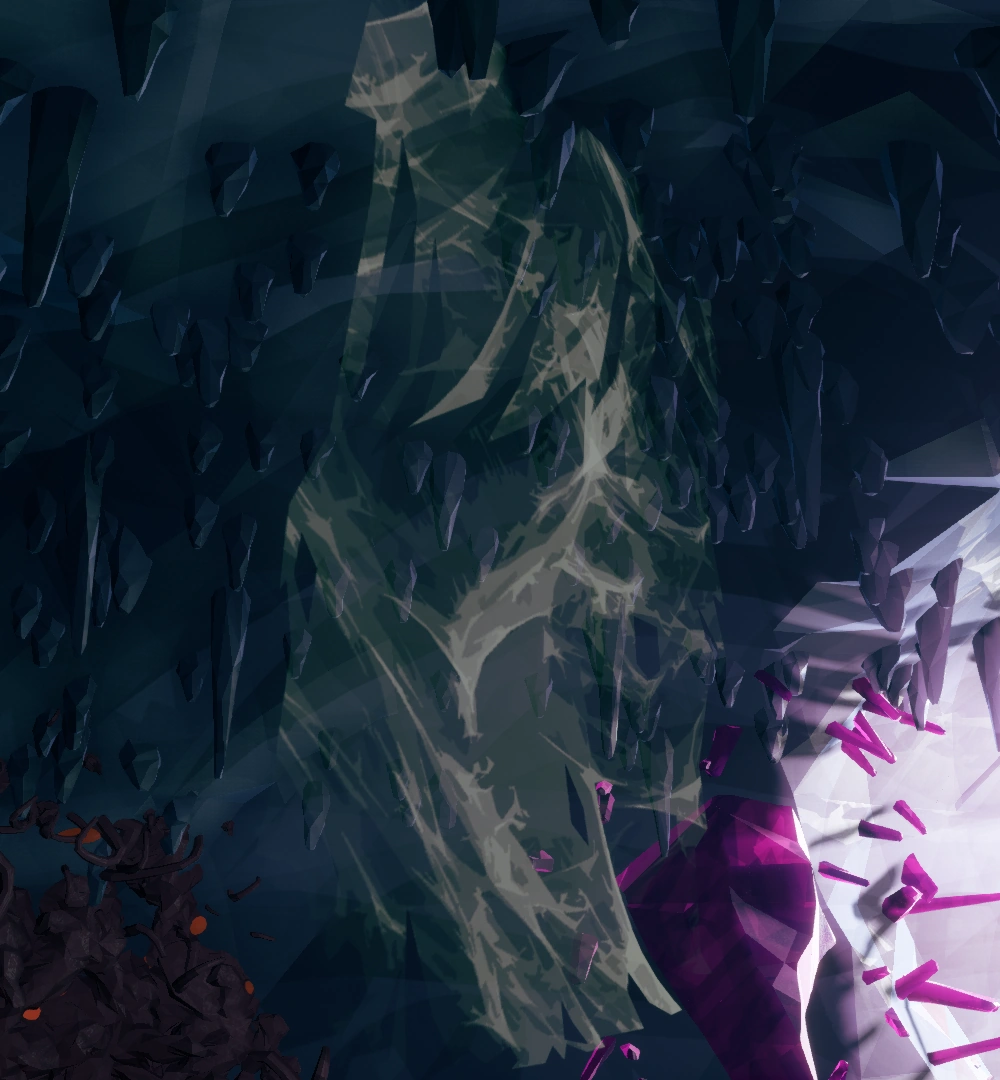 Spider Web |
Thin webs that slow anything passing through them and impair the vision of dwarves. Can be burnt with the Flamethrower or other sources of fire damage. | Health: 1
x0.5 Movement Speed |
| Rocks | ||
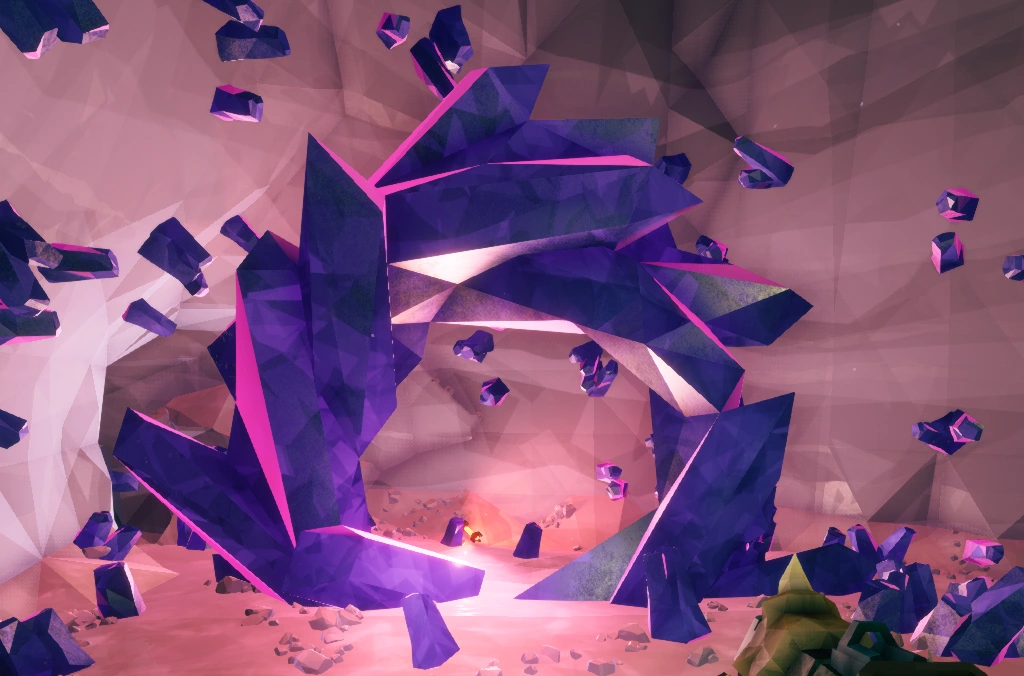
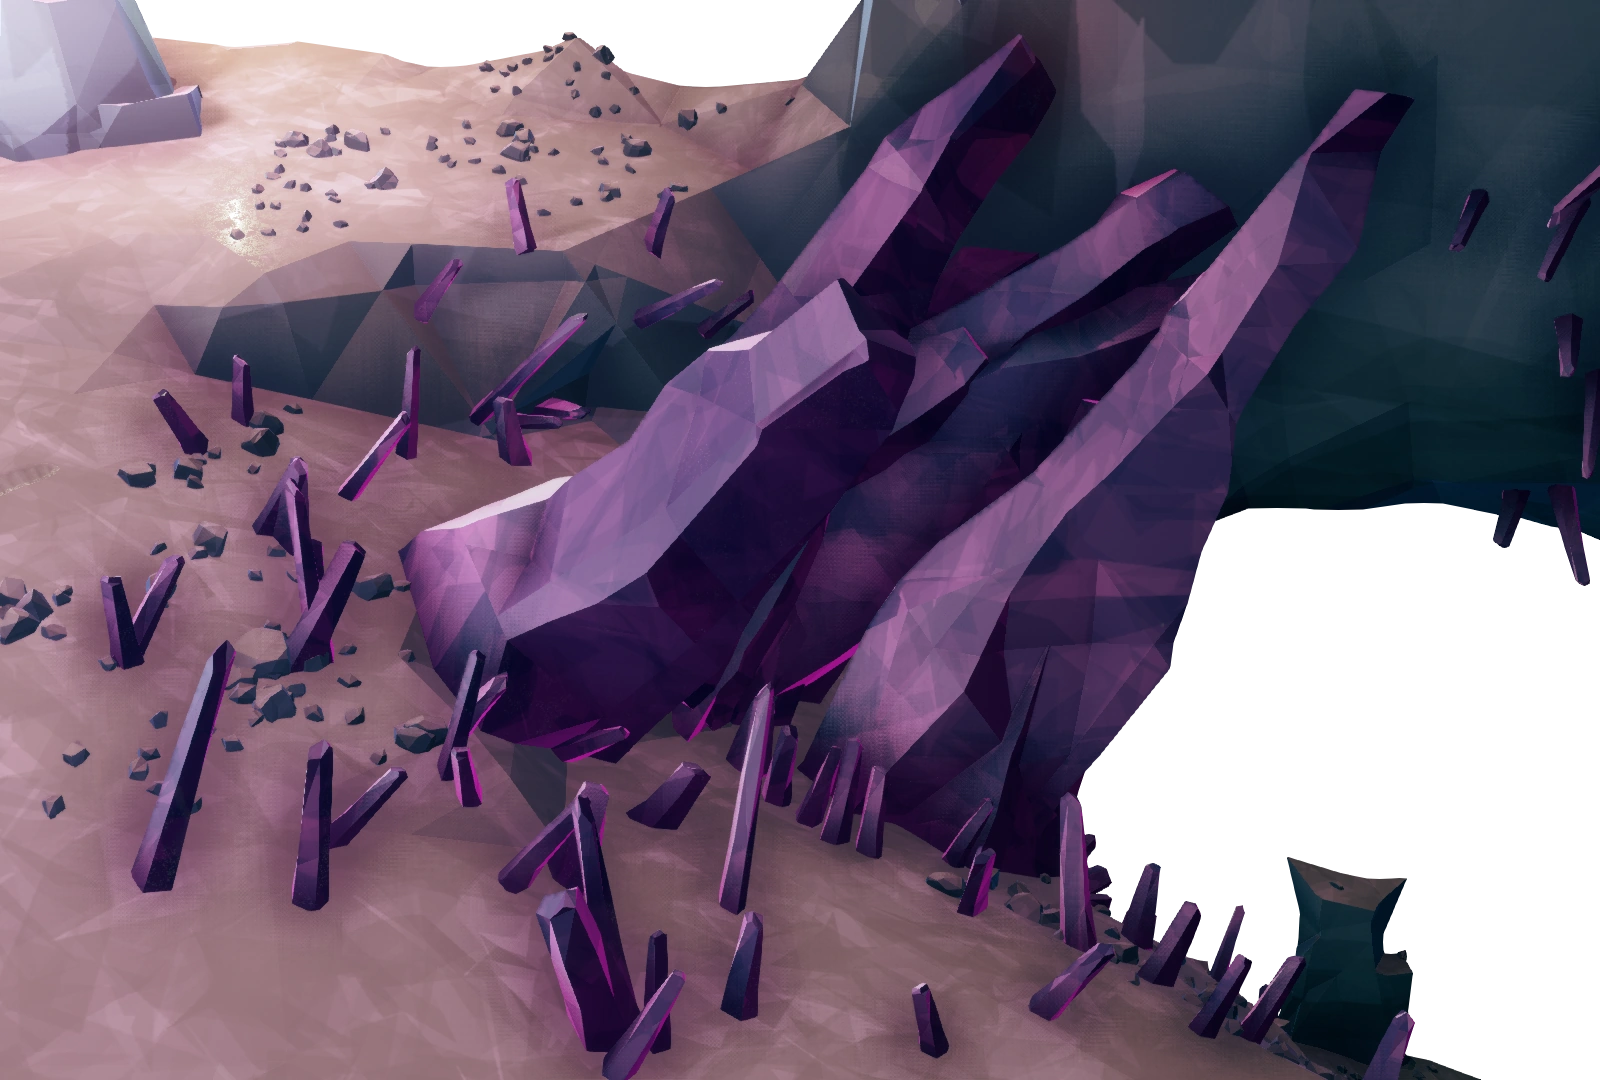 Plain Quartz |
Pink crystals that can be easily destroyed. | Hardness: 1 |
 Plain Quartz |
Circle structure formed of crystals. They can spawn on their own, or in a group. | Hardness: 1 |
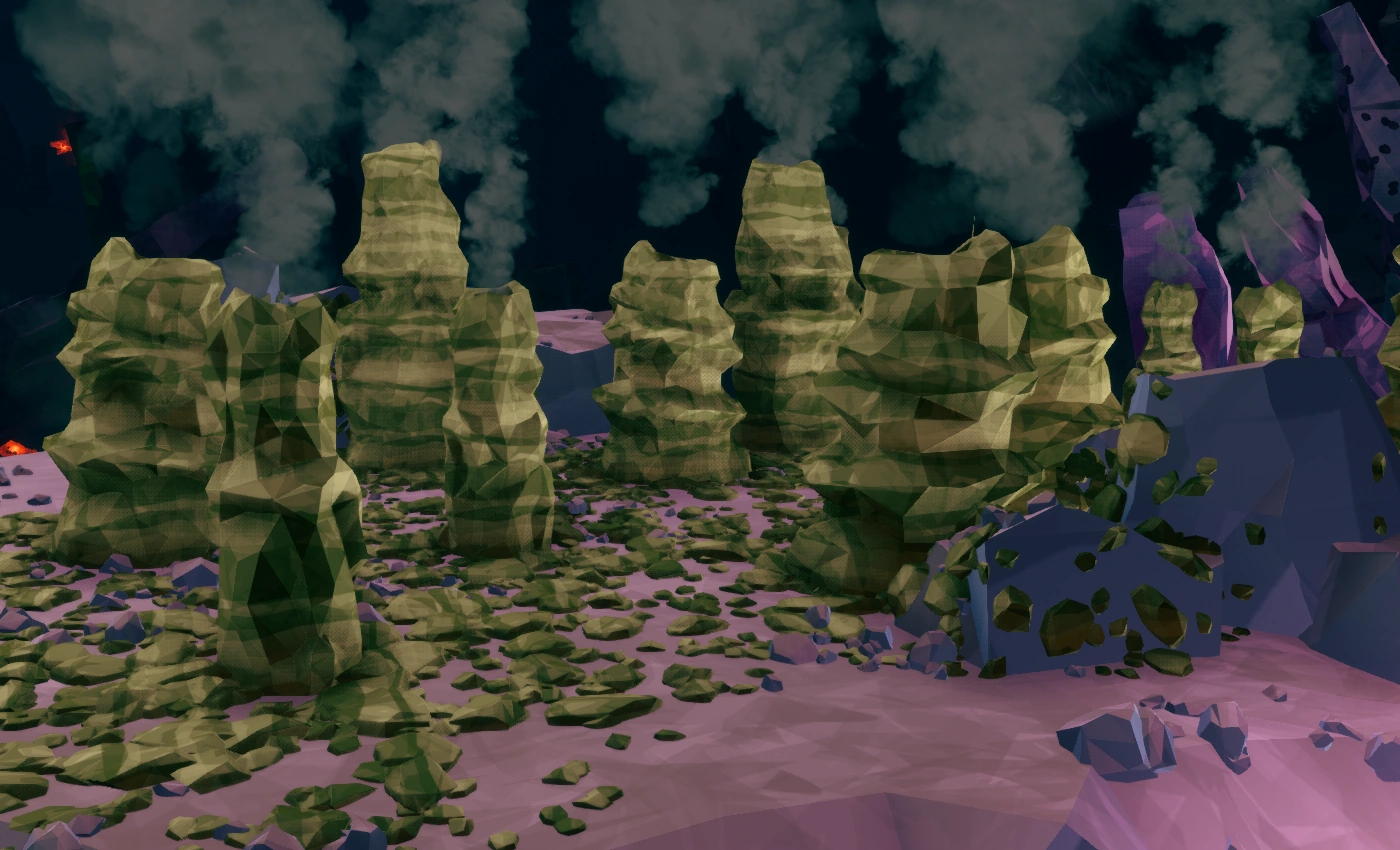 Mineral Chimney |
Tubular rock formations letting out smoke from their holes. Also found in Magma Core. | Hardness: 2 |
| Other | ||
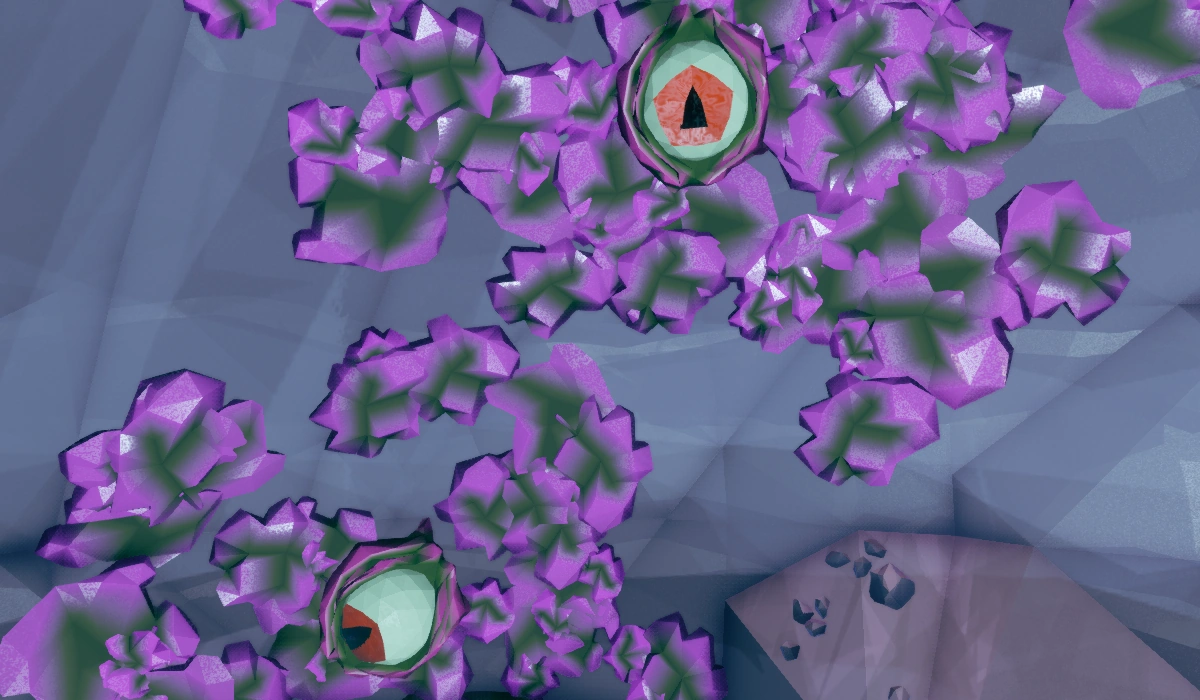 Wall Eye |
Organic eyes with purple bits surrounding them covering the walls of a cave. Damaging an eye will make it close for a short while. Also found in Radioactive Exclusion Zone. | Health: 50 |
Current project
| |||||||||||||||||||||||||||||||||
| Item | Type | Description |
|---|---|---|
| Functional | ||
More projects
biome features collapsible
| Item | Description | Statistics |
|---|---|---|
| Functional | ||
Blue Crystals |
Blue crystals emitting bright light which greatly helps with navigation. | Hardness: 2 |
Electrocrystals |
Blue crystals that shock and slow anything that comes in contact. Electricity arcs off and on between nearby electrocrystals. | Health: 350
Damage: 4
|
Spider Web |
Thin webs that slow anything passing through them and impair the vision of dwarves. Can be burnt with the Flamethrower or other sources of fire damage. | Health: 1
x0.5 Movement Speed |
| Rocks | ||
Plain Quartz |
Pink crystals that can be easily destroyed. | Hardness: 1 |
Plain Quartz |
Circle structure formed of crystals. They can spawn on their own, or in a group. | Hardness: 1 |
Mineral Chimney |
Tubular rock formations letting out smoke from their holes. Also found in Magma Core. | Hardness: 2 |
| Other | ||
Wall Eye |
Organic eyes with purple bits surrounding them covering the walls of a cave. Damaging an eye will make it close for a short while. Also found in Radioactive Exclusion Zone. | Health: 50 |
bug testing
[Expand/Collapse]
| Test | Test |
|---|---|
| Test | Test |
notice box testing
 |
This page is a candidate for deletion.
Reason: "No reason has been provided" |
 |
This page is a candidate for deletion.
Reason: "No reason has been provided" |
| File:Drg delete(black).png | This page is a candidate for deletion.
Reason: "No reason has been provided" |
.png)
Spoiler Warning:
This page contains information that may ruin the enjoyment of discovering Deep Rock Galactic's surprises for yourself. |
Perk anchor testing
Perk Tiers
Perks are divided into tiers. To progress to the the next tier of perks, you must buy a set amount of perks from the previous tiers. For example, to unlock tier 3 perks you must buy three tier 2 or tier 1 perks. Additional passive perk slots are available for purchase at tier 4 and at tier 9. Higher tiers may also contain higher levels of perks. The previous perk level must be purchased before you may buy the next level, even if you have access to that level's tier.
| ||||||||
| List of available Tier 1 perks | |||||
|---|---|---|---|---|---|
Costs Passive: Leave no dwarf behind! You revive teammates 15% faster! |
Friendly I Costs Through the power of friendship you both take and deal 50% less damage from friendly fire! |
Costs Passive: You get an early warning when a creature is about to grab you. |
Costs Get a 8% sprint speed boost. |
Costs Passive: Right after an enemy hits you with a melee attack you get a temporary melee damage bonus. |
Thorns I Costs Any time an enemy hits you with a melee attack it will itself take 6 damage. |
| List of available Tier 2 perks | |||||
|---|---|---|---|---|---|
| Three perks required from previous Tiers to unlock. | |||||
Costs Expert bucket handling! You now deposit valuables into the MULE and Drop Pod 20% faster! |
Field Medic II Costs Passive: Leave no dwarf behind! You revive teammates 20% faster! |
Costs Passive: You get an early warning when a creature is about to grab you. |
Second Wind II Costs Get a 8% sprint speed boost. |
Costs Passive: Right after an enemy hits you with a melee attack you get a temporary melee damage bonus. |
Thorns II Costs Any time an enemy hits you with a melee attack it will itself take 12 damage. |
| List of available Tier 3 perks | |||||
|---|---|---|---|---|---|
| Three perks required from previous Tiers to unlock. | |||||
Costs Expert bucket handling! You now deposit valuables into the MULE and Drop Pod 30% faster! |
Field Medic III Costs Passive: Leave no dwarf behind! You revive teammates 25% faster! |
Costs You’re a busy dwarf, got aliens to shoot! |
Costs Active: Never give up! Once per mission, get back into the fight with all your weapons reloaded and a rage-fueled strength for a 6 second last stand before going down for good! |
Costs Passive: You get an early warning when a creature is about to grab you. |
Second Wind III Costs Get a 12% sprint speed boost. |
See You In Hell III Costs Passive: Right after an enemy hits you with a melee attack you get a temporary melee damage bonus. |
Thorns III Costs Any time an enemy hits you with a melee attack it will itself take 18 damage. |
Costs Active: Fancy boots that let you hover in midair for 2 seconds. | |||
| List of available Tier 4 perks | |||||
|---|---|---|---|---|---|
| Four perks required from previous Tiers to unlock. | |||||
Costs Active: Go berzerk for 10 seconds during which you get boosted melee damage and a lightning-fast pickaxe Power Attack recharge. |
Costs Expert bucket handling! You now deposit valuables into the MULE and Drop Pod 40% faster! |
Field Medic IV Costs Passive: Leave no dwarf behind! You revive teammates 30% faster! |
Costs Getting a taste for that stuff! Get 10% more healing from consuming Red Sugar! |
Resupplier II Costs You’re a busy dwarf, got aliens to shoot! |
Iron Will II Costs Active: Never give up! Once per mission, get back into the fight with all your weapons reloaded and a rage-fueled strength for a 8 second last stand before going down for good! |
Costs Get 20% resistance to all elemental damage. |
Second Wind IV Costs Get a 12% sprint speed boost. |
Thorns IV Costs Any time an enemy hits you with a melee attack it will itself take 24 damage. |
Costs Moving on up! Equip up to 2 passive perks at a time! |
Hover Boots II Costs Active: Fancy boots that let you hover in midair for 2.5 seconds. | |
| List of available Tier 5 perks | |||||
|---|---|---|---|---|---|
| Five perks required from previous Tiers to unlock. | |||||
Berzerker II Costs Active: Go berzerk for 10 seconds during which you get boosted melee damage and a lightning-fast pickaxe Power Attack recharge. |
Costs Expert bucket handling! You now deposit valuables into the MULE and Drop Pod 50% faster! |
Sweet Tooth II Costs Getting a taste for that stuff! Get 20% more healing from consuming Red Sugar! |
Resupplier III Costs You’re a busy dwarf, got aliens to shoot! |
Costs Nothing holds you back! Environmental slow-down effects are reduced by 20%! |
Iron Will III Costs Active: Never give up! Once per mission, get back into the fight with all your weapons reloaded and a rage-fueled strength for a 10 second last stand before going down for good! |
Costs You throw flares with 20% more force than the average Dwarf! Woosh! |
Costs Get 25% resistance to all elemental damage. |
Hover Boots III Costs Active: Fancy boots that let you hover in midair for 3 seconds. | |||
| List of available Tier 6 perks | |||||
|---|---|---|---|---|---|
| Five perks required from previous Tiers to unlock. | |||||
Berzerker III Costs Active: Go berzerk for 10 seconds during which you get boosted melee damage and a lightning-fast pickaxe Power Attack recharge. |
Sweet Tooth III Costs Getting a taste for that stuff! Get 30% more healing from consuming Red Sugar! |
Resupplier IV Costs You’re a busy dwarf, got aliens to shoot! |
Unstoppable II Costs Nothing holds you back! Environmental slow-down effects are reduced by 30%! |
Iron Will IV Costs Active: Never give up! Once per mission, get back into the fight with all your weapons reloaded and a rage-fueled strength for a 12 second last stand before going down for good! |
Vampire I Costs Good thing you work underground! |
Strong Arm II Costs You throw flares with 30% more force than the average Dwarf! Woosh! |
Costs Get 30% resistance to all elemental damage. |
Dash I Costs Active: Get out of trouble with a short burst of speed. |
Costs Active: Charm a Glyphid Grunt to become your loyal companion. You can only have one tamed Grunt at a time. |
Hover Boots IV Costs Active: Fancy boots that let you hover in midair for 3.5 seconds. | |
| List of available Tier 7 perks | |||||
|---|---|---|---|---|---|
| Five perks required from previous Tiers to unlock. | |||||
Berzerker IV Costs Active: Go berzerk for 10 seconds during which you get boosted melee damage and a lightning-fast pickaxe Power Attack recharge. |
Costs Leave nothing behind! Each of your mineral pouches hold +5 more valuables! |
Unstoppable III Costs Nothing holds you back! Environmental slow-down effects are reduced by 40%! |
Vampire II Costs Good thing you work underground! |
Strong Arm III Costs You throw flares with 40% more force than the average Dwarf! Woosh! |
Costs Unequipped weapons automatically reload after 15 seconds. |
Costs Passive: Whenever you are within 4m of a teammate, both of your shields recharge 50% faster! |
Dash II Costs Active: Get out of trouble with a short burst of speed. |
Beast Master II Costs Active: Charm a Glyphid Grunt to become your loyal companion. You can only have one tamed Grunt at a time. | |||
| List of available Tier 8 perks | |||||
|---|---|---|---|---|---|
| Five perks required from previous Tiers to unlock. | |||||
Deep Pockets II Costs Leave nothing behind! Each of your mineral pouches hold +10 more valuables! |
Unstoppable IV Costs Nothing holds you back! Environmental slow-down effects are reduced by 50%! |
Vampire III Costs Good thing you work underground! |
Strong Arm IV Costs You throw flares with 50% more force than the average Dwarf! Woosh! |
Born Ready II Costs Unequipped weapons automatically reload after 10 seconds. |
Shield Link II Costs Passive: Whenever you are within 4m of a teammate, both of your shields recharge 50% faster! |
Dash III Costs Active: Get out of trouble with a short burst of speed. |
Costs For some reason, Loot Bugs explode whenever you get within 2m of them…! |
Beast Master III Costs Active: Charm a Glyphid Grunt to become your loyal companion. You can only have one tamed Grunt at a time. | |||
| List of available Tier 9 perks | |||||
|---|---|---|---|---|---|
| Five perks required from previous Tiers to unlock. | |||||
Deep Pockets III Costs Leave nothing behind! Each of your mineral pouches hold +15 more valuables! |
Vampire IV Costs Good thing you work underground! |
Born Ready III Costs Unequipped weapons automatically reload after 5 seconds. |
Shield Link III Costs Passive: Whenever you are within 4m of a teammate, both of your shields recharge 50% faster! |
Dash IV Costs Active: Get out of trouble with a short burst of speed. |
Costs For some reason, Loot Bugs explode whenever you get within 5m of them…! |
Beast Master IV Costs Active: Charm a Glyphid Grunt to become your loyal companion. You can only have one tamed Grunt at a time. |
Costs Moving on up! Equip up to 3 passive perks at a time! | ||||